Now that you have set up your brand new, fancy mailbox to send and receive emails from your very own domain – you probably want to add it to your computer! This guide will walk you through the necessary steps to add that mailbox to properly send and receive mail on your Windows device, so that you’re always connected wherever you have a data connection.
Last updated: Windows 11 (22H2)
- Launch the 'Mail' app on your Windows device. You can do that by searching for the app in the start menu.
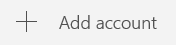
- Locate the '+ Add account' option. Dependent on whether you have used Mail before, will depend on how you access it.
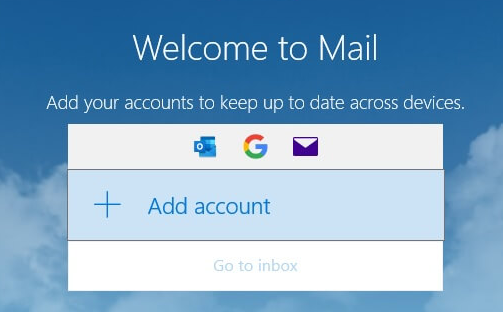
If you have not used Mail before, it should appear on the first launch, like this:
If you already use Mail, you'll need to go to the settings cog  , and then 'Manage accounts'.
- On the 'Add an account' pop up window, scroll to the bottom of the list and click on 'Advanced setup'.

- Choose the 'Internet email' option by clicking on it.

- Fill in all the fields as indicated below - if you do not fill out one or more of the fields correctly, the set up will not work.
Email address: (your email address e.g. info@example.com)
User name: (your email address e.g. info@example.com)
Password: (your password)
Account name: (this will be shown in your Mail app, your name or business name is a good option here)
Send your messages using this name: (your name, or your business' name)
Incoming mail server: imap.stackmail.com
Account type: IMAP4
Outgoing (SMTP) email server: smtp.stackmail.com
Outgoing server requires authentication: (ticked)
Use the same user name and password for sending email: (ticked)
Require SSL for incoming email: (ticked)
Require SSL for outgoing email: (ticked)
- Click on
 at the bottom right corner of the window, and your account should be ready to use.
We would recommend sending a test email to and from your newly-added mailbox from another email address just to make sure everything is working as you expected.
If you have any problems getting connected, please do not hesitate to raise a ticket and we’ll be happy to help.